How to update Living Atlas layers in your maps and apps
Learn how to update Living Atlas layers you are working with to make sure you are working with the best data available.
With certain Esri Canada Living Atlas items migrating to a new organization in 2025 you will need to update your workflows and any maps and apps currently using these items. (A List of all migrating items can be found in this blog).
As these items enter the mature support phase of the migration cycle, they will no longer be updated. If you are using any of the migrating items, please transition to the replacement item before the scheduled mature support date to ensure you are working with the best data available.
To make this transition as easy as possible for you we have created the below step-by-step guides on how to swap to the replacement items within ArcGIS Online and ArcGIS Pro.
ArcGIS Online-
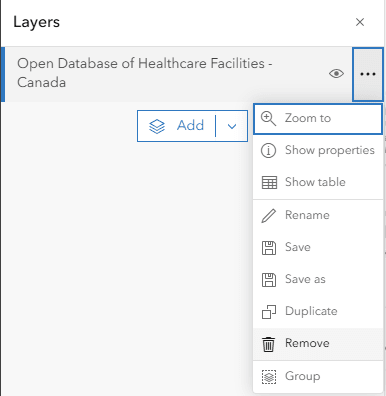
Updating a migrating layer within a web map that you have not applied any filters, symbology or custom configurations to is easy.--
To remove and add layers in Map Viewer, complete the following steps:-
-
To remove the current layer from your web map. Click Remove in the item pane to remove the layer from the map.---
2. To add the replacement layer- on the Contents (dark) toolbar, click Add and click Browse layers. From the drop-down menu choose Living Atlas.--
3. Search for the item you are looking for and once located click Add on the item results page to add the layer to the map. Alternatively, click Add to map in the item pane to add the layer to the map.-
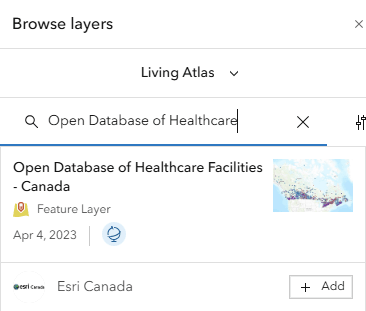
Searching for item within Living Atlas.
If you are using a migrating layer that you have applied filters, symbology, or other configurations to, you will need to use AGOL Assistant to ensure none of these are lost.--
To update the data source of a layer using AGO Assistant, complete the following steps:--
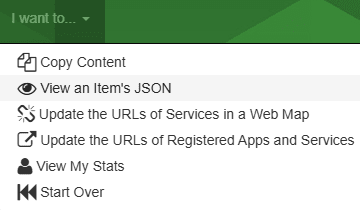
- Within the top menu bar, click I want to...- From the drop-down menu choose View an Item’s JSON-.-
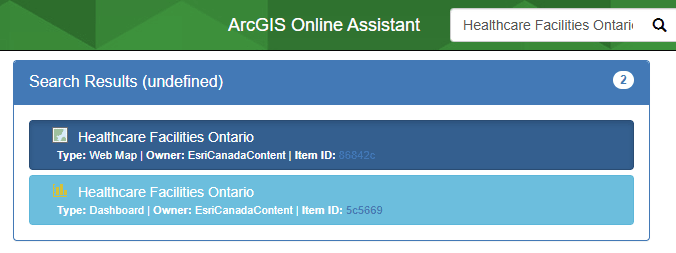
2. Using the search bar in the top menu bar, search for the web map or app that contains the migrating layer, once located click the item within the Search Results.-
Search for web map or app
-
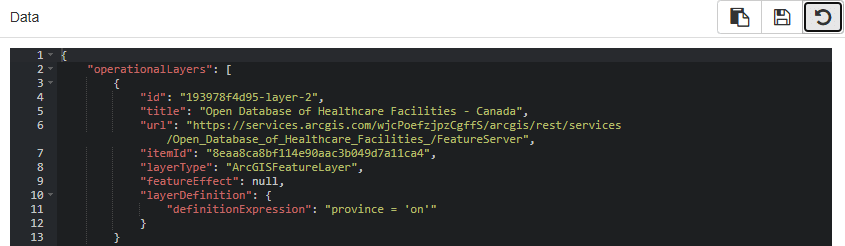
On the right-hand side two blocks of JSON code will be visible, navigate down to the code block titled Data.
-
Within the “operationalLayers” list will be all layers within your map, locate the layer that needs updated using the itemId property You will need to update the itemId and url properties of the layer with those of the replacement layer, these will be found on the replacement layer’s item page (see documentation View and use items).-
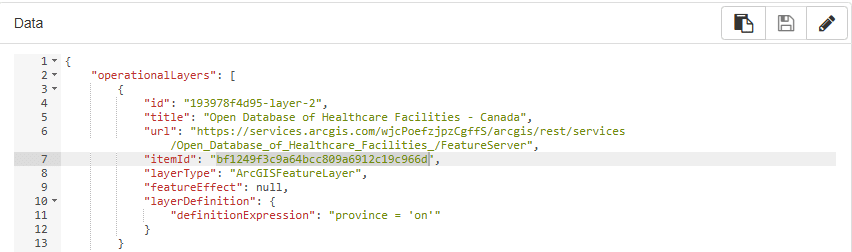
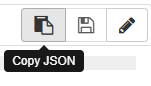
Locate itemID property within the JSON - Before making any updates to the JSON click Copy JSON. Save the JSON to a file in case there are any issues while editing you will have a copy of the original JSON code.--
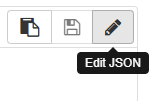
6. Click Edit JSON
7. Replace the itemId property value with your replacement layer’s Item ID.
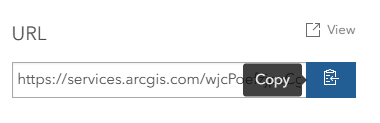
8. Copy the replacement layer’s url from the item page and replace the url property value with the replacement layer’s url-.
 Copy URL of replacement item
Edited JSON with replacement layer’s Item ID and URL
9. Once edits are complete click Save.
10. Navigate to your web map or app and confirm the changes have been made and the replacement layer is now being used.--
ArcGIS Pro
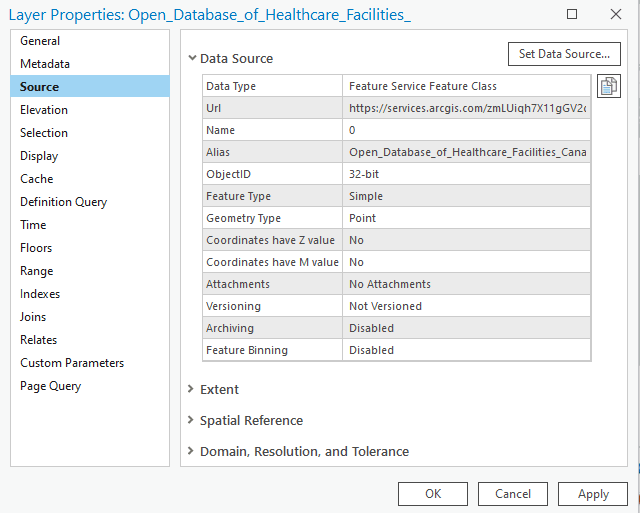
If you are using a- migrating layer within ArcGIS Pro you will simply need to update the layers data source to point to the replacement layer.---
To update the data source of a layer in ArcGIS Pro, complete the following steps:-
- In the Contents pane, right-click the layer.-
-
Click Properties.-
-
Go to the Source tab and click Set Data Source.
4. Under Portal, click Living Atlas.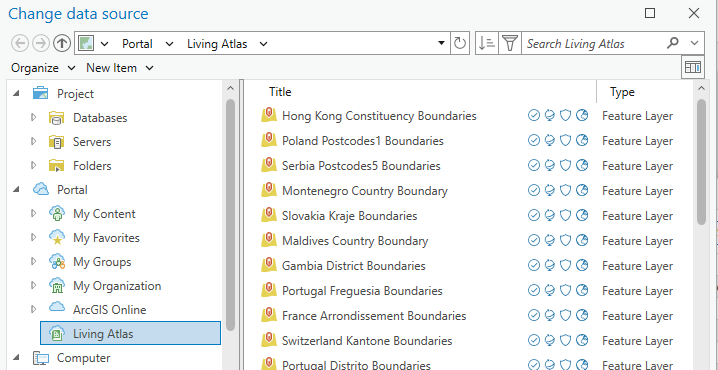
5. Search for the replacement layer, once located click OK.
6. Within Properties window click Apply.