Configuring the Community Map of Canada in Cityworks
Enhance your Cityworks experience by adding the Community Map of Canada as a basemap. In this blog post, we’ll guide you through the straightforward steps to create and configure a web map using Portal for ArcGIS. This integration ensures your Cityworks basemaps feature accurate, authoritative data while remaining visually engaging. Let’s get mapping!
Did you know that you can easily access the Community Map of Canada basemaps within Cityworks? By utilizing a web map created in either ArcGIS Enterprise or ArcGIS Online, you can seamlessly bring these basemaps into your Cityworks platform. This blog post will guide you through the process, ensuring that your basemaps are both accurate and authoritative. We'll break down the steps into two main sections: adding the Community Map of Canada Vector Basemaps to a web map and then integrating the web map in Cityworks.
Section 1: Add the Community Map of Canada Vector Basemaps to a web map
This section follows this blog post, which outlines the steps to add the Community Map of Canada Vector Basemaps to a new basemap in Map Viewer.
-
Sign into Portal for ArcGIS and ensure that you have privileges to share content with your organization
-
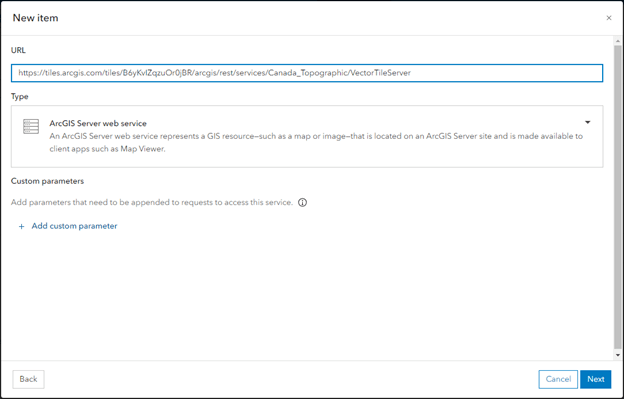
Click the “Content” tab and then “+New Item”
-
Select URL and enter the REST URL for the basemap of your choice. Pasting the URL should automatically indicate the type as an ArcGIS Server web service. The list of URLs can be found in this blog post.
-
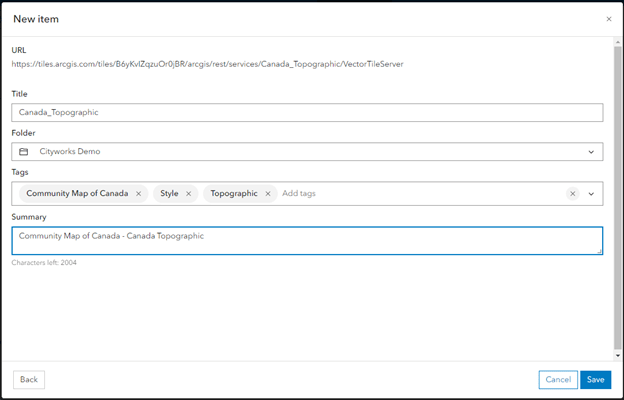
Enter the title, tags and description for the tile layer
-
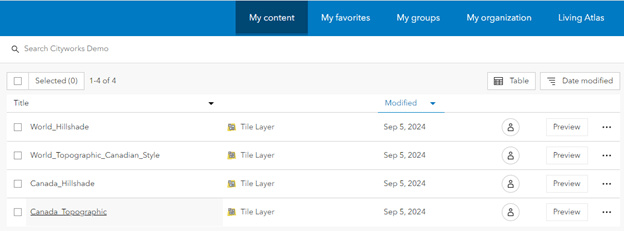
Repeat steps 2–4 for each of the REST URLs in the basemap style of your choice
-
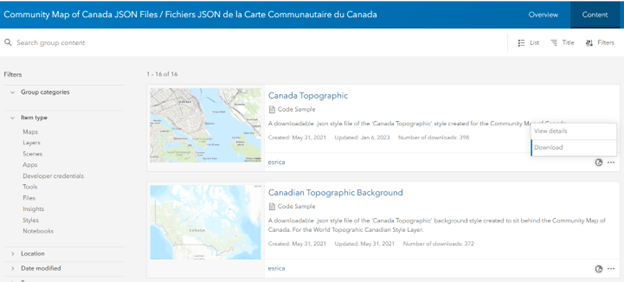
We can now update the Vector Basemap Styles. Go to the Community Map of Canada JSON Files page to access the JSON files that will be used to update the layers that create the Community Map of Canada.
-
Click the Content tab
-
Find the items listed as “Code sample”
-
There will likely be two files needed—the main style file and a complementary one with the word “Background” in the name. Both files will be necessary to download. For each file needed, click the three dots on the item and choose Download.
-
-
Unzip the downloaded files
-
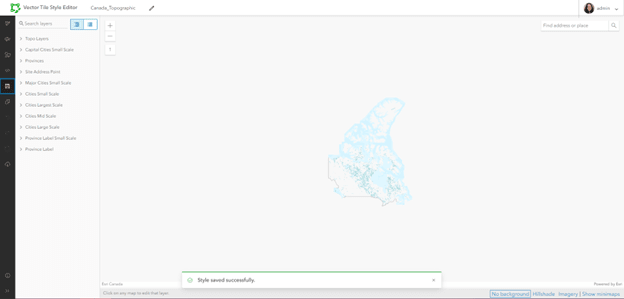
For each tile layer created in Portal, open the Item Details page and click “Edit in Vector Tile Style Editor”
-
Click “Save” on the left black bar of the Vector Tile Style Editor to reset the backend URL to your organization instead of the ArcGIS Online URL
-
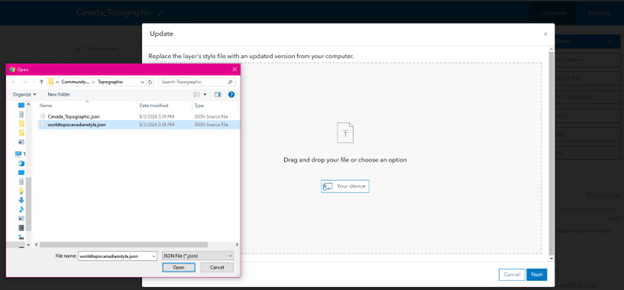
Return to the Item Details page and click “Update” to update the style file. Choose the related JSON file you previously downloaded.
-
Repeat steps 8–10 for all the Community Map Vector Basemap tile layers. Note that the Canada Hillshade and World Hillshade layers do not require updated styles.
-
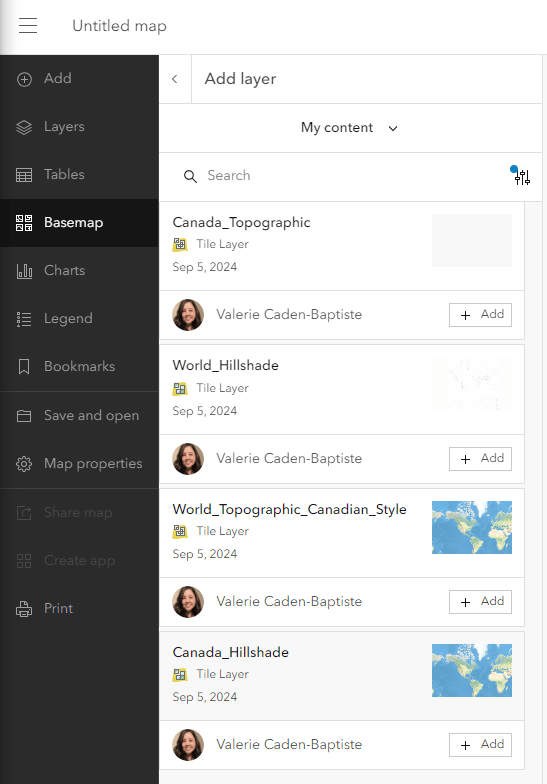
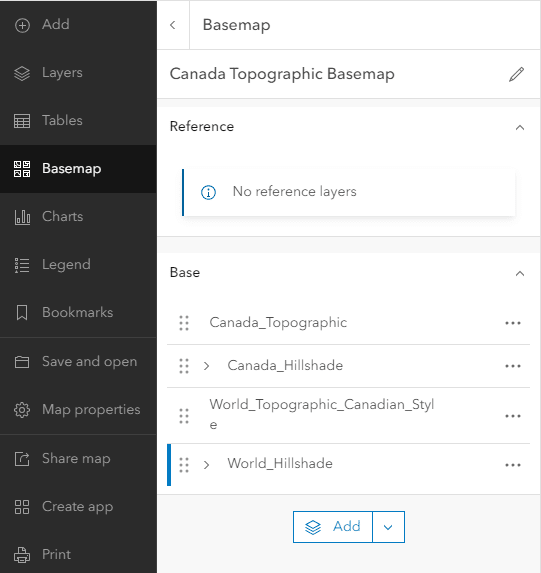
Navigate to Map Viewer in Portal for ArcGIS and select “Basemap” on the left dark toolbar. Rename the current basemap and add the vector tile layers you created earlier.
-
Reorder the layers to reflect the same order as outlined in the blog post and remove the reference layer and any other non-related base layers
-
Save the web map
Section 2: Integrate the web map into Cityworks
In this section, you will take the web map you created in Portal for ArcGIS and add it to Cityworks.
-
Log into Cityworks
-
Click the Designer tab, navigate to "GIS Services"
-
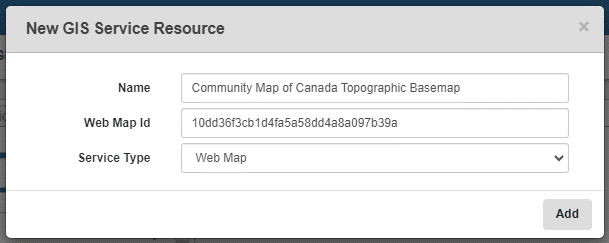
Click “Add” from the GIS Service Resources tab to open the New GIS Service Resource dialogue
-
Name the item
-
Select “Web Map” from the Service Type drop-down menu
-
Enter the web map ID
-
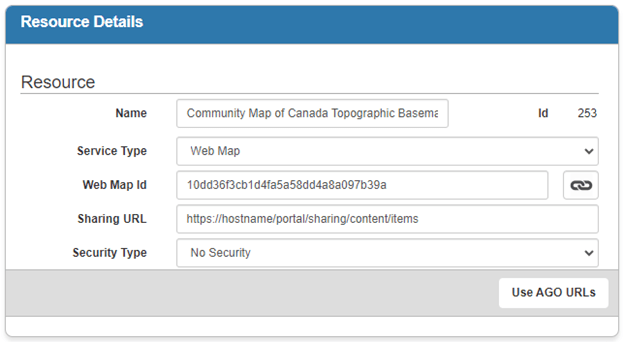
- Once added, select “Web Map” on the Service Resources tab and add the correct sharing URL: https://<hostname>/<portal>/sharing/content/items
-
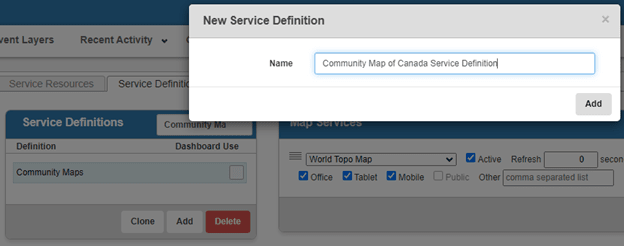
Next, in the Service Definitions tab, the Cityworks administrator can choose to create a new service definition or update an existing one. Steps for creating a new service definition (which services are to be used in Cityworks for a specific group of users) are below.
-
Click Add
-
Enter a name for the new service definition
-
-
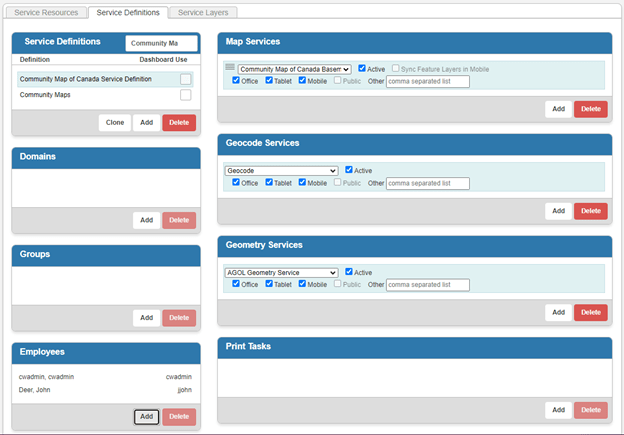
Select the newly created service definition
-
Click “Add” in Map Services and select the web map created for this workflow
-
Under Geocode Services, click “Add” and select the geocode service used in the Cityworks environment
-
Under Geometry Services, click “Add” and select the geometry service used in the Cityworks environment
-
Under Employees, click “Add” and select which Cityworks users will see the Community Map of Canada basemaps. Add the Cityworks administrator to the Employees panel for testing. Note that you could also use the Domains or Groups panel.
-
-
Cityworks users added in the Employees section from the previous step should now be able to view the Community Map of Canada basemaps in their Cityworks map.
-
If required, each Cityworks user can set their own initial extent for the Cityworks Map. Otherwise, the Cityworks map will use the extent specified on the service and/or web map itself.
-
Zoom to the desired extent
-
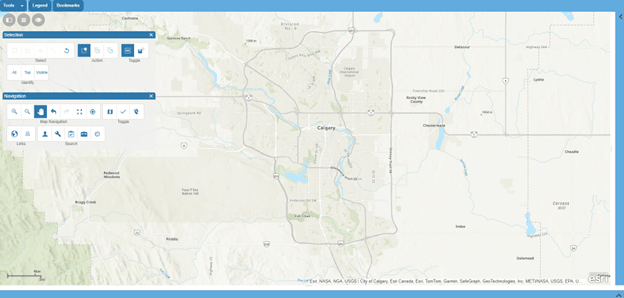
In the map, open the Bookmarks tool in the top menu bar. If it is not there, click the Tools drop-down and check the box next to “Bookmarks”. Once enabled, you can select it from the top menu bar.
-
On the Bookmarks tool panel, click “Set initial extent”
-
The map will automatically zoom to this extent each time this user launches the map moving forward.
-
By following these simple steps, your selected Community Map of Canada basemaps can be seamlessly integrated into Cityworks. Cityworks users will be able to benefit from highly accurate basemap sources from authoritative Canadian contributors. With these basemaps now in place, your organization can enjoy the benefits of precise, high-quality geographic data at your fingertips.
Note: This workflow is replicable with other basemap styles. A great resource to browse is the Community Map of Canada Custom Basemap Gallery, which includes fun and practical basemap styles to enhance your Cityworks operations. You can also create your custom basemaps using the Vector Tile Style Editor.